
- Zara -
RM Zara – Tyler
(2018)
3 units, 23 seconds, Italian heavy cruiser
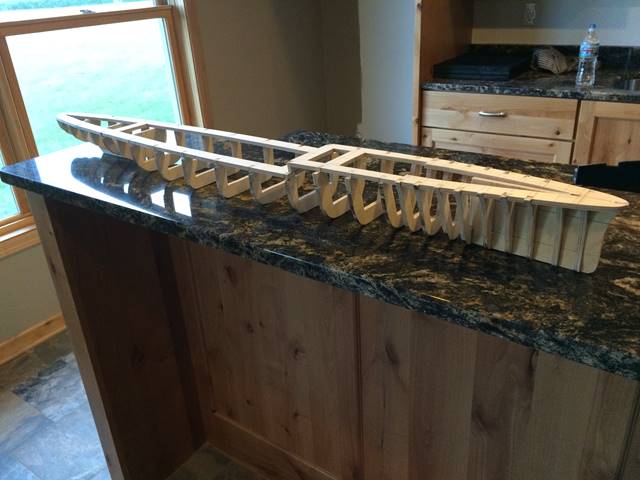
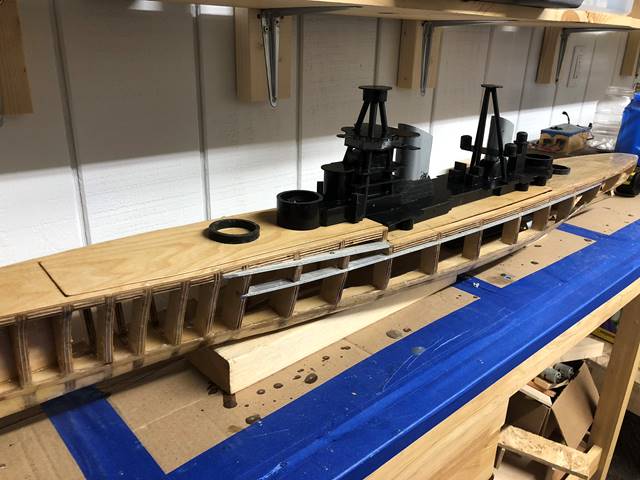
Ribs cut, Subdeck in place.
Another shot of the ribs/sub deck. There are a few place holder ribs in the stern just intended to use to shape the bottom of the hull before they will be cut out.
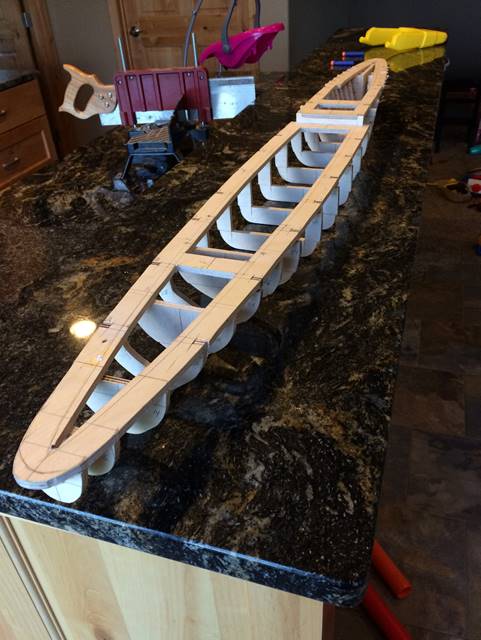
This is a rough cut of bottom of the hull with balsa fill for the most part and a flat plate of 1/32 inch ply wood with some strips in the more curved areas. I would for most cruisers put water channeling in the bow and stern, the mid section doesn’t always need it, the Zara is a big ship so I’m trying some water channeling along the bulges as well to see if it will stay more stable in the water as it settles rather than going into a death roll when it takes on damage.

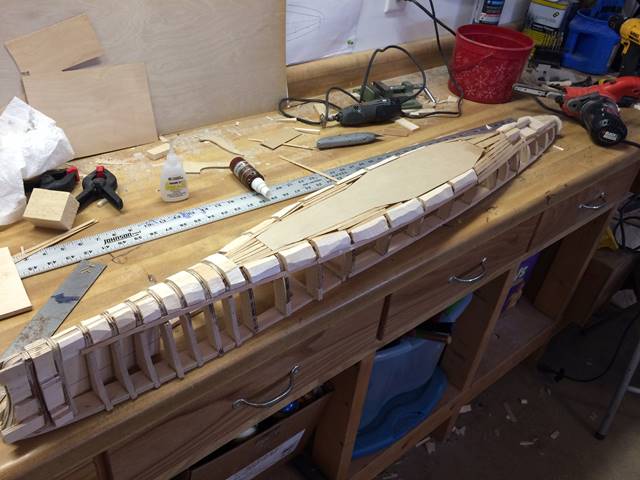
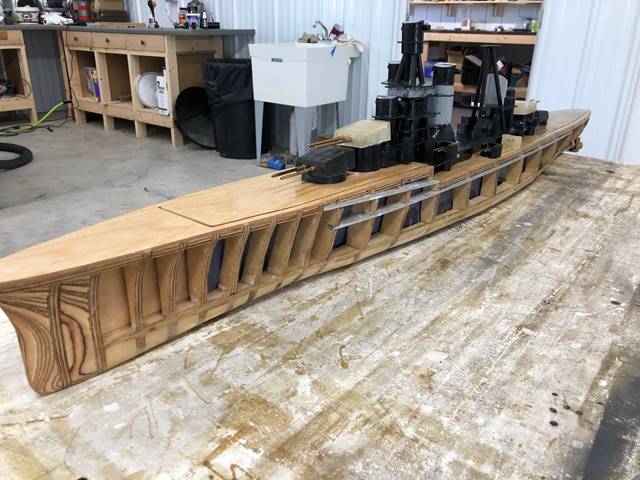
It’s amazing what a little sanding will do. The bottom of the hull is now ready for fiber glass. I have been placing a ply wood strip along the upper edge of the balsa lately to allow for a bit more of a hardened corner where the bottom of the penetrable window will go. This seems to help the ship hold up to fire over the years a bit better.
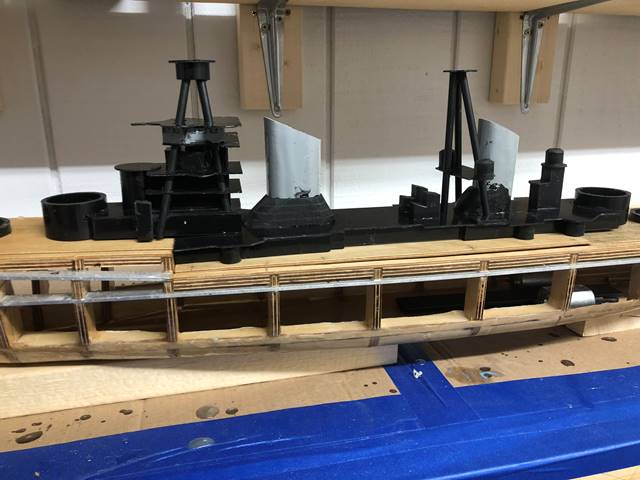
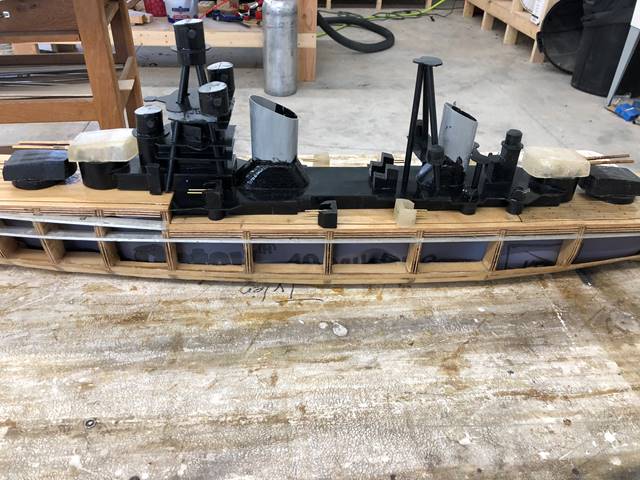
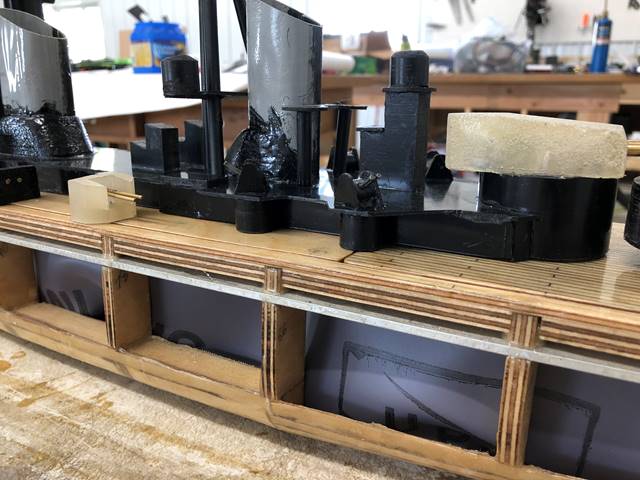
Superstructure is made of ABS, the black ABS sheets are for the most part 1/16 inch, the gray ABS is 1/32, way lighter but much more flimsy as well. You can see several ABS rods as well of various sizes, all hollowed out with a drill. The funnel bases are ABS stacked on itself and glued together then sanded down to about 1/8 inch hick at most. Zara has a good bit of superstructure, hopefully it won’t be too heavy, I hollowed out as much as I could to save weight.
Shot down the side of the ship.
More complete super structure with turrets. The primary and secondary turrets are molded from a soft rubber that should bounce the bb’s off.
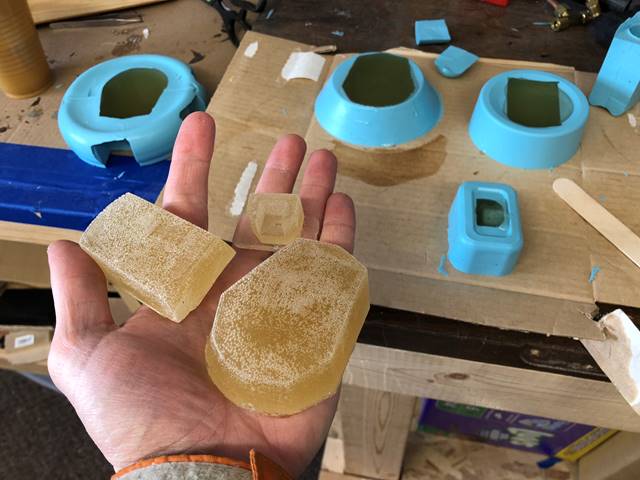
Molded turrets.

10cm (4in) secondary guns.
Side shot.

The middle deck section holds all the superstructure, it is held on with magnets.
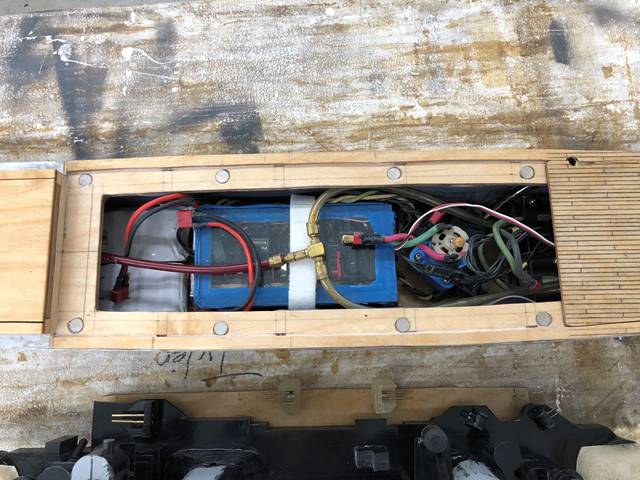
Internals. On the left are the two 5ah NiMH batteries that sit flush on the bottom. In the middle is the radio box. To the right of that is the pump. You can barely make out the drive motors to the right still. The upper right part of the photo shows where the pump outlet exits the ship.
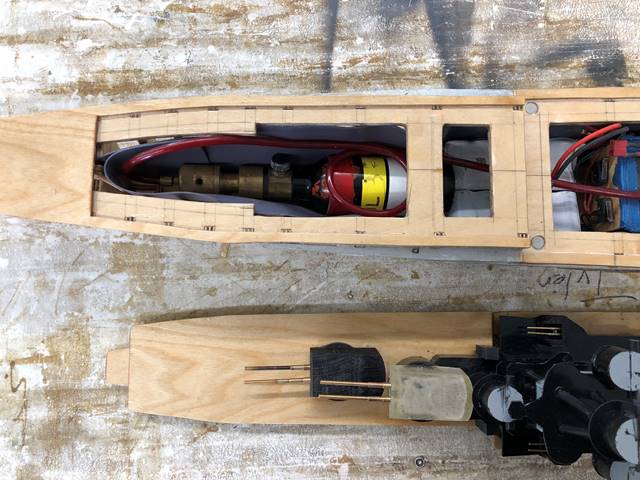
The bow most section contains the CO2 tank.
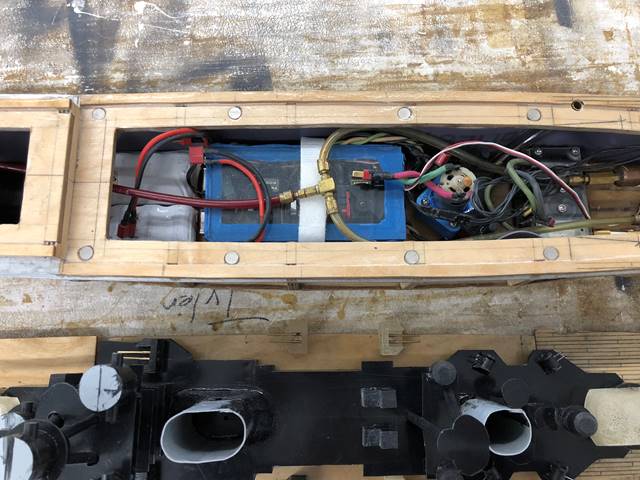
Amidships again, here you can see the clear plastic holding down the drive motors.
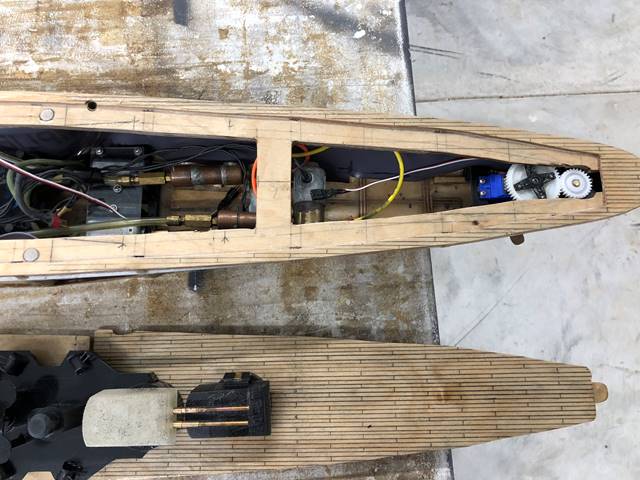
The stern of the ship. On the far right is the rudder system, a large gear mounted to a servo that turns a small gear with the rudder attached to it. The servo is water proofed.
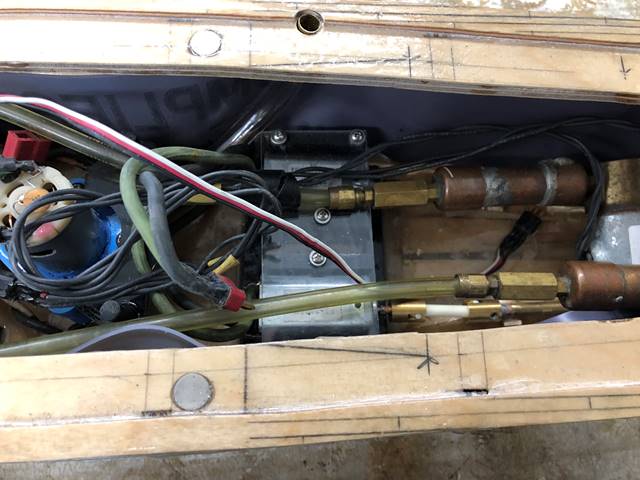
The drive motors have ABS plastic mounts that they drop into. Over the top of the mount a clear plastic sheet is screwed on, this holds the flat sided motors in place very well but also allows them to be changed easily.
This is the first ship I put tertiary guns on so I had to show it off. They are not really scale but they still look cool.
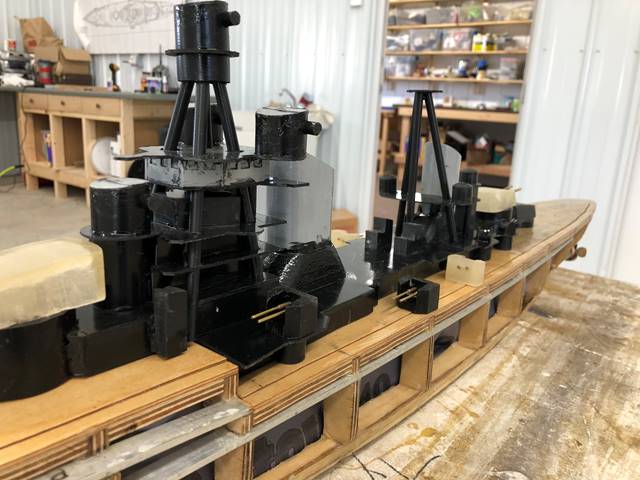
Side shot of the super structure. There are little window cut outs on the bridge level.
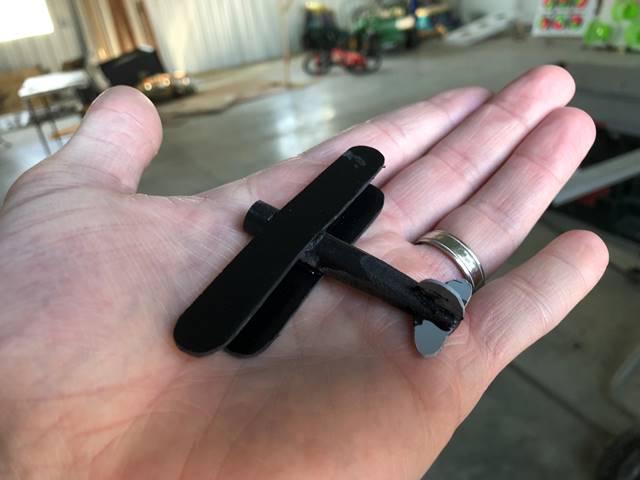
Ro.43 seaplane. Sooooo cute. Newcomers often imagine building aircraft carriers and functioning planes, but you can see here a scale plane is pretty little.
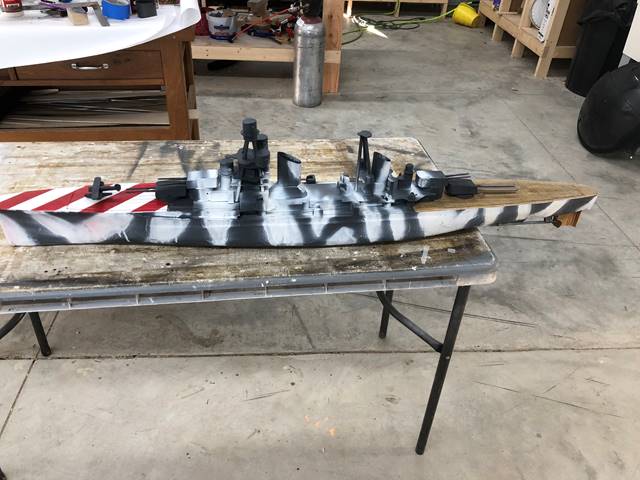
Awesome paint schemes on the Italians. This is technically the Fiume paint job.
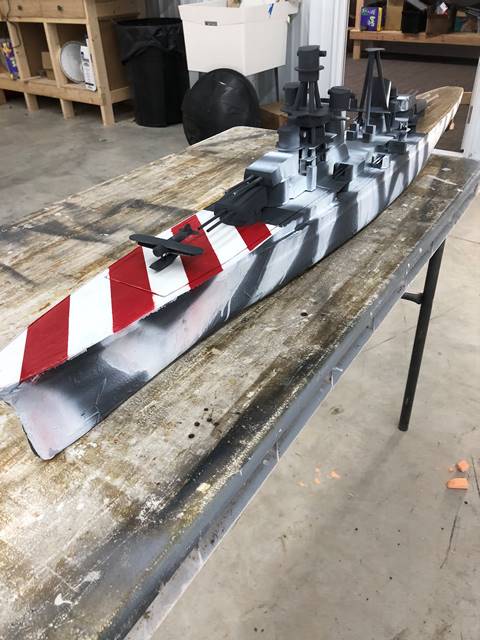
“Candy cane’ stripes in the bow were to prevent the
Italians from mis-identifying their own ships on air attack.
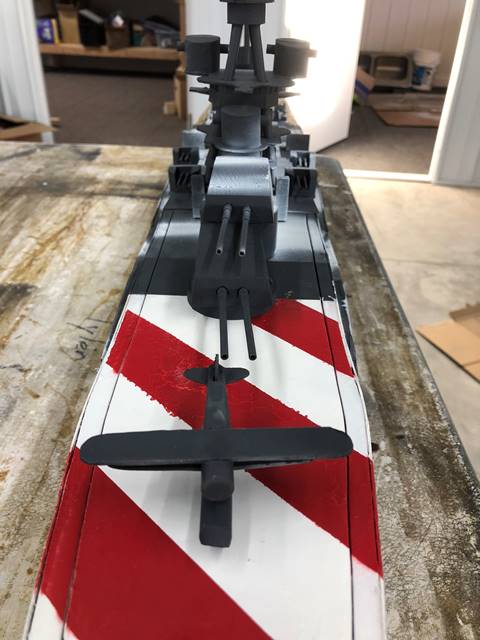
Ro.43 seaplane
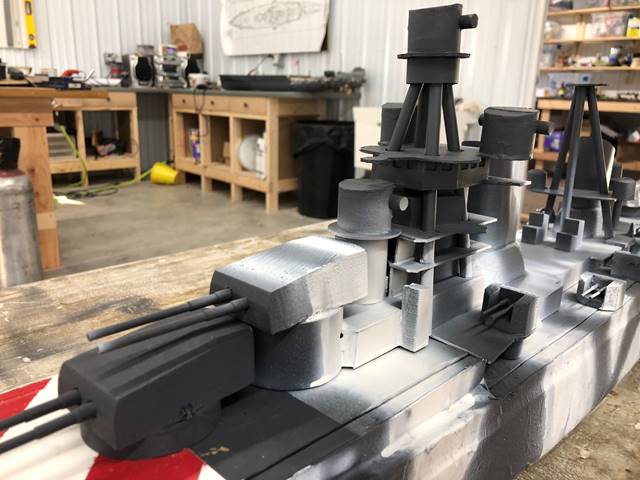
Close up of the main super structure
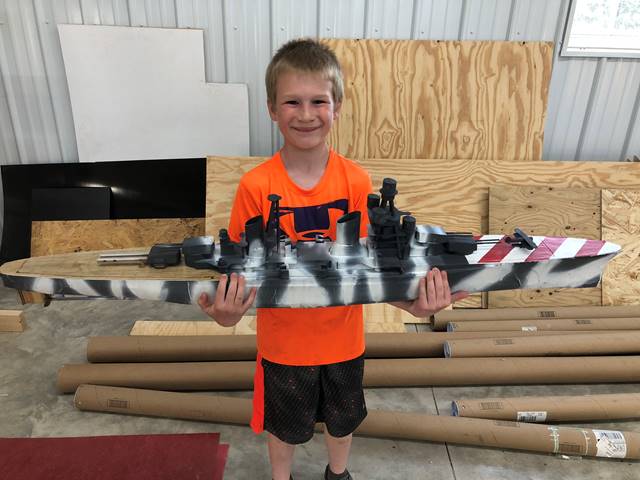
A captain and his ship.
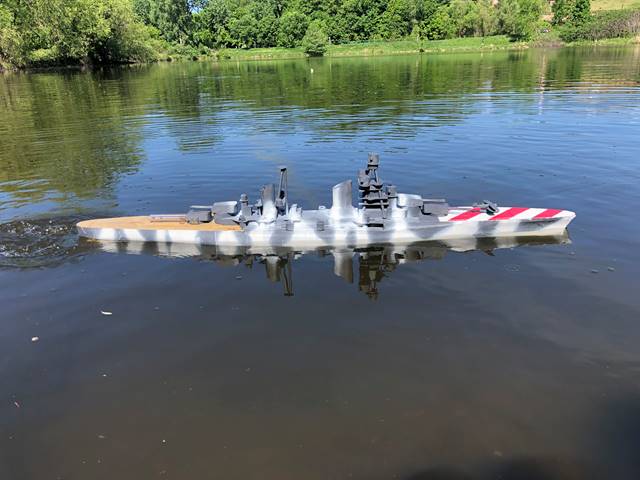
First time on the water. Should be good fun for years to come.